Today we’ll walk through the process of creating a virtual environment and running a simple Python program. Virtual environments are essential because it helps to keep projects organized and isolated.
Prerequisites
Before we start, make sure you have the following:
- Python 3.3 or higher installed on your computer.
- Basic familiarity with using the command prompt or terminal.
Installing the Virtual Environment
1) Check Your Python Version: Ensure your Python version is 3.3 or higher. Virtual environments are installed by default in these versions.
2) Install Virtualenv: Open your command prompt or terminal and execute:
pip install virtualenv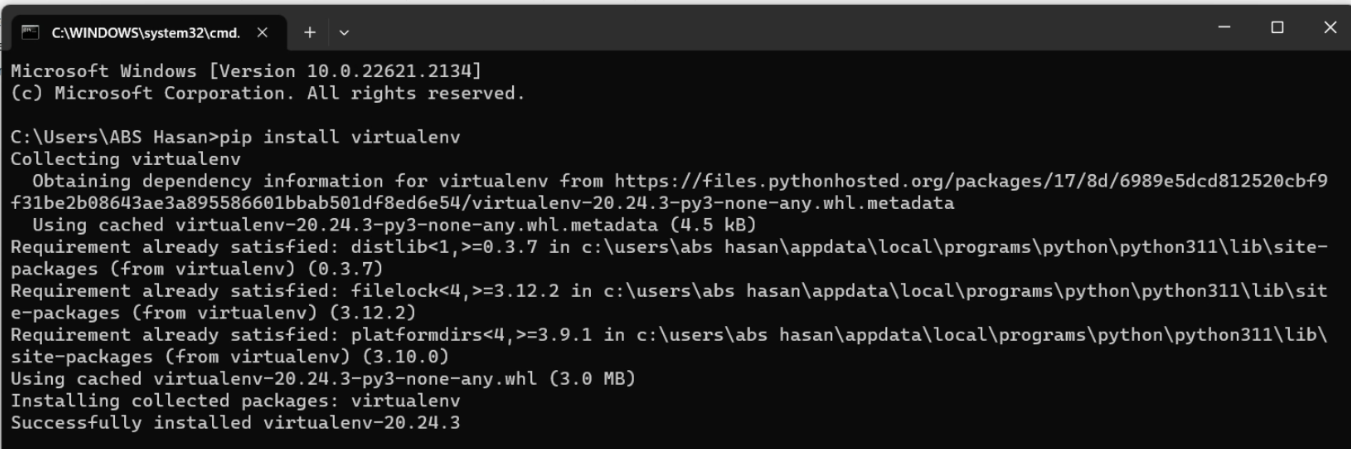
3) Create and Activate the Virtual Environment: Navigate to your preferred location (e.g., Documents folder) and create a virtual environment named “virtual_env”:
cd Documents
virtualenv virtual_env
4) Activate the virtual environment
virtual_env\Scripts\activate
You’ll notice your command prompt changes to indicate the active virtual environment.
5) Install Libraries
While the virtual environment is active, you can install libraries using pip. For instance, let’s install NumPy:
pip install numpy6) Check Installed Libraries: Verify installed libraries:
pip list
Running a Simple Python Program
Creating and Running a Script: Let’s create and run a simple Python script. Open your command prompt and execute these commands:
echo variable_a = 2 > main.py
echo variable_b = 6 >> main.py
echo result = variable_a + variable_b >> main.py
echo print(result) >> main.py
Run the Script: Execute the script:
python main.py
You’ll see the result printed in the command prompt.
Deactivating the Virtual Environment
Once you’re done with your work in the virtual environment, you can deactivate it:
deactivate
So finally we have learned how to create a virtual environment, install libraries, run a simple Python script, and manage your development environment efficiently.